 Aura: Looksmaxxing
Makeup for Face Shape: A Flexible Placement Guide
Makeup for face shape, without the rigid rules: where blush and contour usually go, where guides disagree, and a simple way to find placement that suits you.
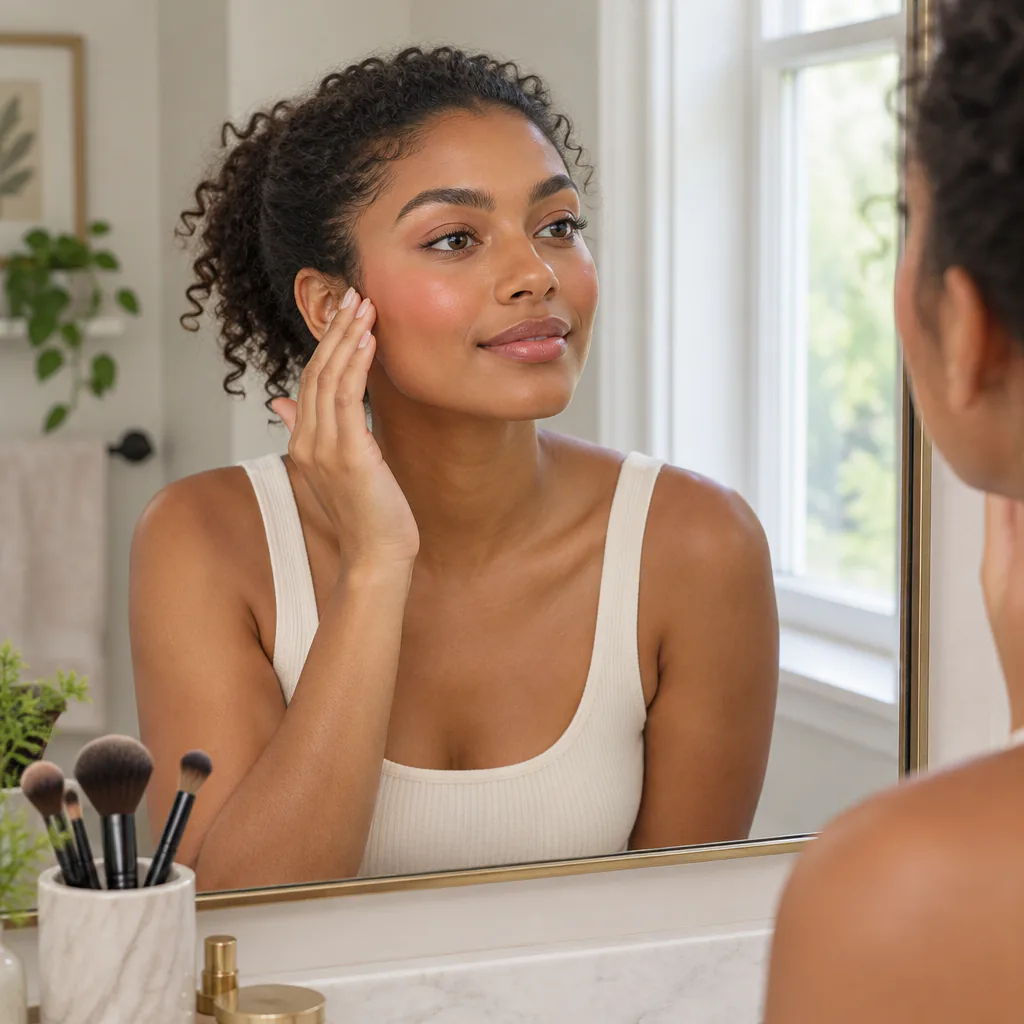
Most guides to makeup for face shape start with a chart. You find your shape, then follow the map. The idea is useful, but its foundation is weaker than the charts suggest. Face shape categories are fuzzy, and brand guides contradict each other on basic placement. Nobody has published a study showing that shape-specific contour maps work better than placing makeup where it looks good on you.
That doesn’t make face shape useless. It gives you a decent first read on two things:
- Where your width sits: forehead, cheekbones or jaw.
- How long your face is compared with its width.
Use that read as a starting point, then let the mirror decide. This guide covers:
- What makeup can and can’t change.
- The common placement advice for each shape, including where it disagrees.
- A method that works whichever label you land on.
What makeup can and can’t change about your face
Makeup works on light and attention. It can’t move bone.
- A deeper shade reads as shadow.
- A lighter or shinier one reads as a surface catching light.
- Color pulls the eye toward wherever it sits.
There is real research on one part of this: how big features look. One study appeared in the peer-reviewed journal Psychology of Aesthetics, Creativity, and the Arts. In it, researchers compared how large facial features looked with and without cosmetics. With makeup:
- Eyebrows and eyes were judged significantly larger.
- The nose was judged smaller.
- The mouth’s apparent size didn’t change.
The full paper is open about earlier results being mixed. In some past work, features looked smaller with makeup, and other studies found different effects. So read it as “makeup changes how big features look,” not as a precise formula.
Two practical takeaways:
- Brows and eyes showed the clearest size effect in that study. If you want visible impact for little effort, define your brows before you reach for contour.
- The study measured individual features, not overall face shape. None of the sources behind this article measured whether contour makes a face look slimmer, shorter or more oval. Those are styling goals, not tested outcomes.
Why face shape categories are fuzzier than charts suggest
Many guides work with five basic labels, the same five that face shape classification research often uses because they are the ones most commonly cited online:
- Oval: longer than wide, with no strong angles.
- Round: length and width are similar.
- Square: an angular jaw, with similar widths at forehead, cheeks and jaw.
- Heart: a wider forehead and a narrower chin.
- Oblong (sometimes called rectangle): noticeably longer than wide.
Real faces don’t sort that neatly, and research on face shape classification shows it.
- A paper on automatic face shape classification reviewed 21 websites. Of 117 female celebrities given at least two face shapes, 62 had conflicting labels. Same faces, different answers.
- Another team built a face shape prediction model and compared it with popular websites. They described the results as very subjective, because each site predicted differently.
- A separate machine learning study reported that its approach predicted round and square faces well, while other shapes were harder to classify.
If you’re torn between two labels, you aren’t doing it wrong. Many faces sit between categories, and you can borrow advice from both.
A quick way to read your own proportions
The label matters less than the proportions behind it, because those are what placement decisions depend on. Here’s a simple self-check (an editorial suggestion, not a clinical method):
- Pull your hair fully back. Face a mirror in even daylight and keep your chin level.
- Find your widest zone: forehead, cheekbones or jaw.
- Decide whether your face is clearly longer than it is wide, or close to even.
- Look at the jawline. Is it more angular or more curved?
- Look at the chin. Is it pointed, rounded or flat?
You might want a second read alongside the mirror check. Aura’s Face Shape Finder gives your likely face shape with uncertainty rather than one fixed verdict. It explains your forehead, cheek and jaw proportions and suggests haircut and accessory options. For makeup, the proportions explanation is the useful part, because that’s what you’ll place blush and contour around.
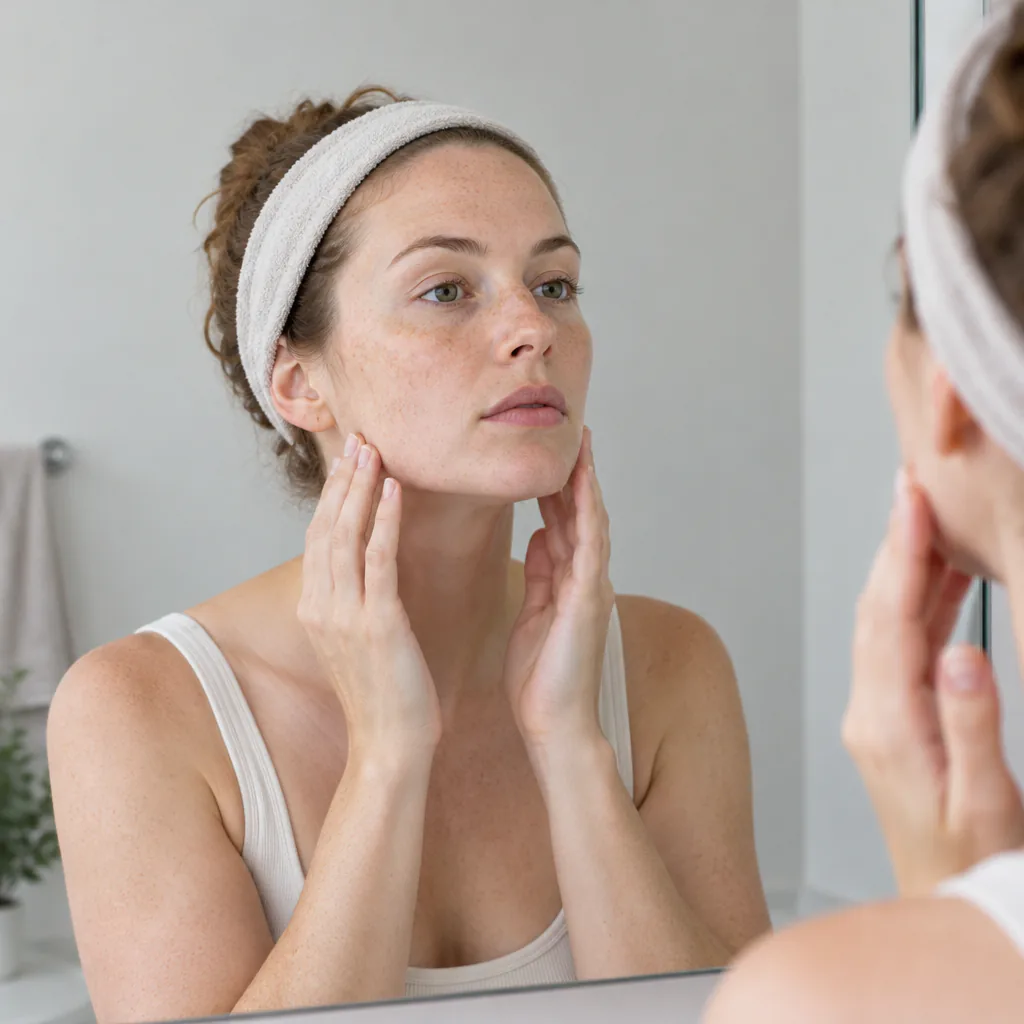
Blush and contour placement by face shape
Below is the common advice from makeup artists and cosmetics brand guides. It is practitioner opinion, not tested science, and where guides disagree, this section says so.
One more caveat. Some contour guides say the goal is to make every face look more oval, and call oval the ideal. That is a beauty convention, not a fact. You can use placement to bring out features you like, not just to “correct” ones you don’t.
Round
The shared idea is to keep color on and above the cheekbone rather than on the soft center of the cheek. The details vary:
- One brand guide suggests sweeping blush diagonally from the temples toward the top of the cheekbones, keeping it away from the center of the cheeks.
- Another recommends a straight line from the ear toward the center of the face, following the cheekbone.
- A third says to keep blush about two fingers’ width from the nose and sweep it upward toward the ears.
Oval
There is less specific advice worth repeating here. Our editorial suggestion is to treat oval as a good shape for experimenting. Try blush on the apples, the fullest part of your cheeks when you smile. Then try it higher on the cheekbone, and keep whichever you prefer.
Square
Our editorial suggestion is to use soft, rounded blending on the apples rather than sharp horizontal stripes if you want a softer look. Many people with an angular jaw like that structure and skip jaw contour entirely, and that’s a valid choice.
Heart
This is where guides disagree most. Published advice includes:
- A C-shape that starts on the cheekbone and curves up toward the temple.
- Blush on the apples, blended outward toward the ears so color stays in the mid-face.
- More horizontal blending.
No one approach is proven better. Try two of them on different days and compare.
Oblong
This is the most consistent advice across guides:
- Blend blush horizontally across the apples, out toward the ears, to add a sense of width.
- Avoid vertical stripes or blending straight upward, which guides say adds length.
When your cheekbones are the widest point
Some faces don’t fit the five labels neatly, with cheekbones clearly wider than both forehead and jaw. Our editorial suggestion is a lighter hand. Use sheer blush on the cheekbones and minimal contour beneath them. Let your brows and eyes carry more of the definition.
Using blush as contour
Two artists quoted by Allure Philippines describe a technique that isn’t tied to a specific shape:
- Jillian Dempsey suggests sucking in your cheeks into a “fish face” to find your cheekbones.
- Nick Lujan says blush should be blended along the underside of the cheekbone and fade upward.
The same article says this placement suits longer, thinner faces in one passage, and round, square and oval faces in another. That inconsistency is telling. Good placement is mostly about your cheekbone, not your category.
A step-by-step method that works on any face
This routine is an editorial suggestion. It replaces the chart with a quick test you can repeat.
- Find your structure. Make the fish face to locate the cheekbone, then relax your face. Note where the bone sits and where the hollow under it begins.
- Do your brows first. Brows were among the features that looked most different with makeup in the study above. They frame everything else, so set them before judging blush or contour.
- Test two blush placements, one on each cheek. For example, put a high, angled sweep on the left and apples blended outward on the right. Keep the amount the same on both sides.
- Compare from three views. Look straight on, at a three-quarter angle, and through your phone’s front camera. Pick the side that looks more like the face you want to show.
- Match the other side. Remove the version you didn’t choose and repeat the one you did.
- Add contour only if you want more definition. Contour is optional, not a daily requirement. Use a sheer shade slightly deeper than your skin, just under the cheekbone, and blend until no edge remains.
- Highlight sparingly. Put it on the high points where light already hits, such as the top of the cheekbone. Leave textured areas bare.
- Check at conversation distance in daylight. People see you from across a table, not from inches away. If any line reads as a stripe from there, blend more.
Practical tips that matter more than your label
These are editorial suggestions from common makeup practice, not measured findings.
- Light first. Overhead bathroom light casts shadows that hide or exaggerate contour. Apply facing a window or in even, diffuse light.
- Blend past where you think you’re done. A visible edge reads as makeup. A soft gradient reads as shadow.
- Choose texture for your skin. Creams tend to melt into skin and suit drier or more mature skin. Powders tend to sit better on oily skin and last longer.
- Keep contour shades believable. A real shadow is only slightly deeper than your skin. A shade much darker or very warm can look like a stripe in daylight.
- Watch the distance from your nose and eyes. Blush crowded toward the nose or bunched under the eye can look heavy. Leave some space.
- Remember your hair. Bangs, volume at the sides and where your hair falls all change which proportions people see first. Your hairstyle frames your face just as much as your makeup does.
- Change one thing at a time. If you switch blush placement, contour and highlight all at once, you won’t know which change you liked.

Common mistakes with face shape makeup
- Trusting the chart over the mirror. If chart-perfect placement looks off on you, the chart is wrong for your face, not the other way around.
- Forcing a single label. Most people mix two shapes. Borrow advice from both and keep what works.
- Treating oval as the target. Contour can play up your cheekbones or jaw just as easily as it can soften them. Decide what you want first.
- Harsh contour lines. Heavy jaw or nose contour can look sharp in photos but show as stripes in person.
- Copying tutorials blindly. A creator with different proportions and lighting may get very different results from the same placement.
- Skipping brows. Brows are the easiest place to start, and they shape how your whole face reads.
The short version
Face shape is a reasonable first guess, not a verdict. Start with your proportions:
- Where you’re widest.
- How long your face is.
- Whether your jaw and chin are angular or soft.
Then use the common advice as options to test. Do brows first, test blush two ways on one face, add contour only if you want it, and judge in daylight from a normal distance. Your mirror is better evidence about your own face than any chart.
Sources & further reading
Frequently asked questions
What is the best makeup for my face shape? +
There isn't one proven best layout. Brand guides even disagree on placement for round and heart-shaped faces. Use the common advice for your shape as a starting point, then test two placements side by side and keep the one you prefer in daylight.
How do I figure out my face shape for makeup? +
Pull your hair back and face a mirror in even light. Note where your face is widest, whether it is clearly longer than wide, and whether your jaw is angular or curved. Many faces fall between two categories, so those proportions are more useful than any single label.
Can makeup make my face look slimmer? +
Makeup changes how light and attention fall on your face, but it can't change bone structure. One study found cosmetics changed how large features like the eyes, brows and nose looked. Whether contour changes how slim a whole face looks wasn't tested in the sources behind this article.
Do I need contour for my face shape? +
No. Contour is optional, and blush placed along the underside of the cheekbone can add definition on its own. If you do contour, use a sheer shade only slightly deeper than your skin and blend until no edge is visible.
Should blush go on the apples or the cheekbones? +
Both are common, and the right choice depends on the look you want. Apples tend to read softer, while placement on or just under the cheekbone reads more defined. Try one on each cheek and compare from the front and a three-quarter angle.